Alex has been writing about software, hardware, and the latest tech trends for more than ten years. He digs into the details without overcomplicating things and breaks down new gadgets and digital tools in a way that actually makes sense. Expect clear insights, no fluff.
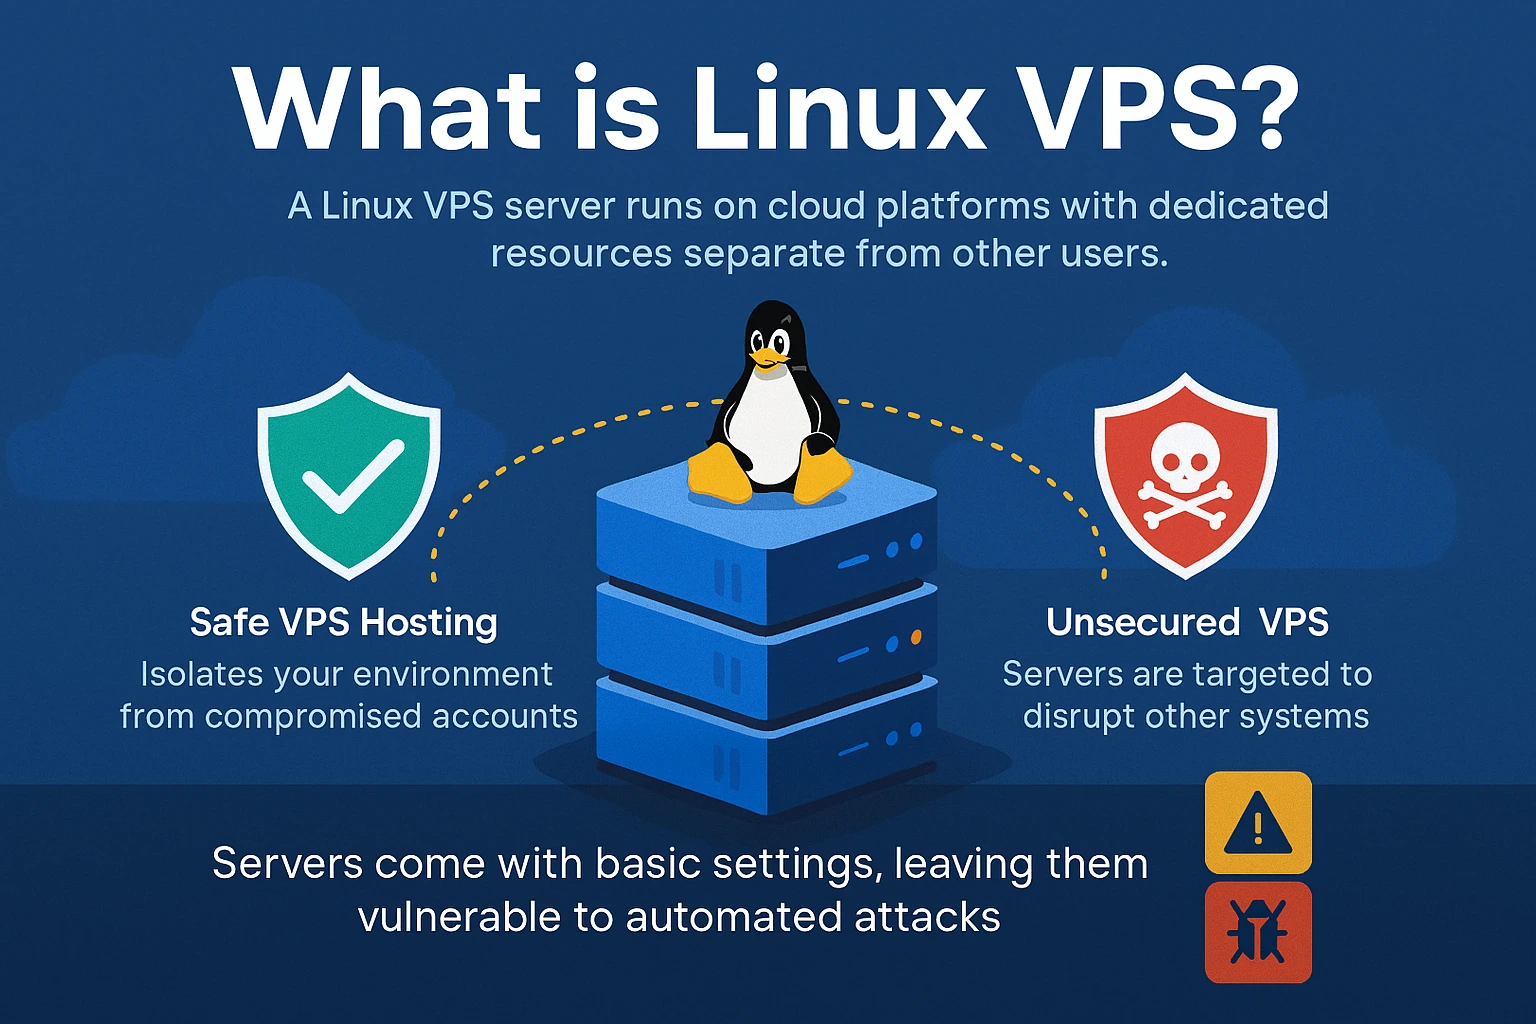
A Linux VPS, or Virtual Private Server, provides a powerful, cost-effective solution for hosting websites, applications, and services. Yet it also exposes administrators to a wide array of security risks. Understanding how to secure linux vps systems is critical because these servers often serve as entry points to sensitive data and critical infrastructure. Attackers relentlessly scan for vulnerable servers to exploit unpatched bugs, weak authentication, or misconfigurations.
Common vulnerabilities range from brute-force SSH attacks and outdated software to misconfigured firewalls and publicly exposed services. Many breaches start with automated bots targeting default login ports or poorly selected root passwords. Without careful defense, attackers can gain shell access, install malware, or enlist servers into botnets. This threat market makes securing a VPS not just an operational necessity but a strategic essential.
The benefits of well-executed VPS security extend beyond mere threat prevention. They improve system reliability by reducing downtime caused by intrusions or malware infections. Secured VPS environments also protect customer and user data from theft and compliance consequences. Also, strict security protocols enable administrators to maintain audit trails and control access, vital for forensic analysis and regulatory adherence.
Basic proven methods for securing a Linux VPS include disabling root login over SSH, implementing key-based authentication, and regularly applying security patches. Firewalls and intrusion detection systems must be configured to block unauthorized traffic and alert on suspicious activity. Updating software packages and minimizing the attack surface by uninstalling unnecessary services further improve security posture (among the platforms reviewed here).
Require strong, unique passwords or, ideally, SSH keys for user access.
Limit open ports strictly to those required for intended services.
Employ fail2ban or similar tools to automatically block repeated login failures.
Conduct regular audits and vulnerability scans to identify weaknesses.
Configure automatic updates or timely manual patching procedures.
Enable logging and monitoring to track access and detect anomalies.
Segregate services and accounts to limit lateral movement in case of compromise.
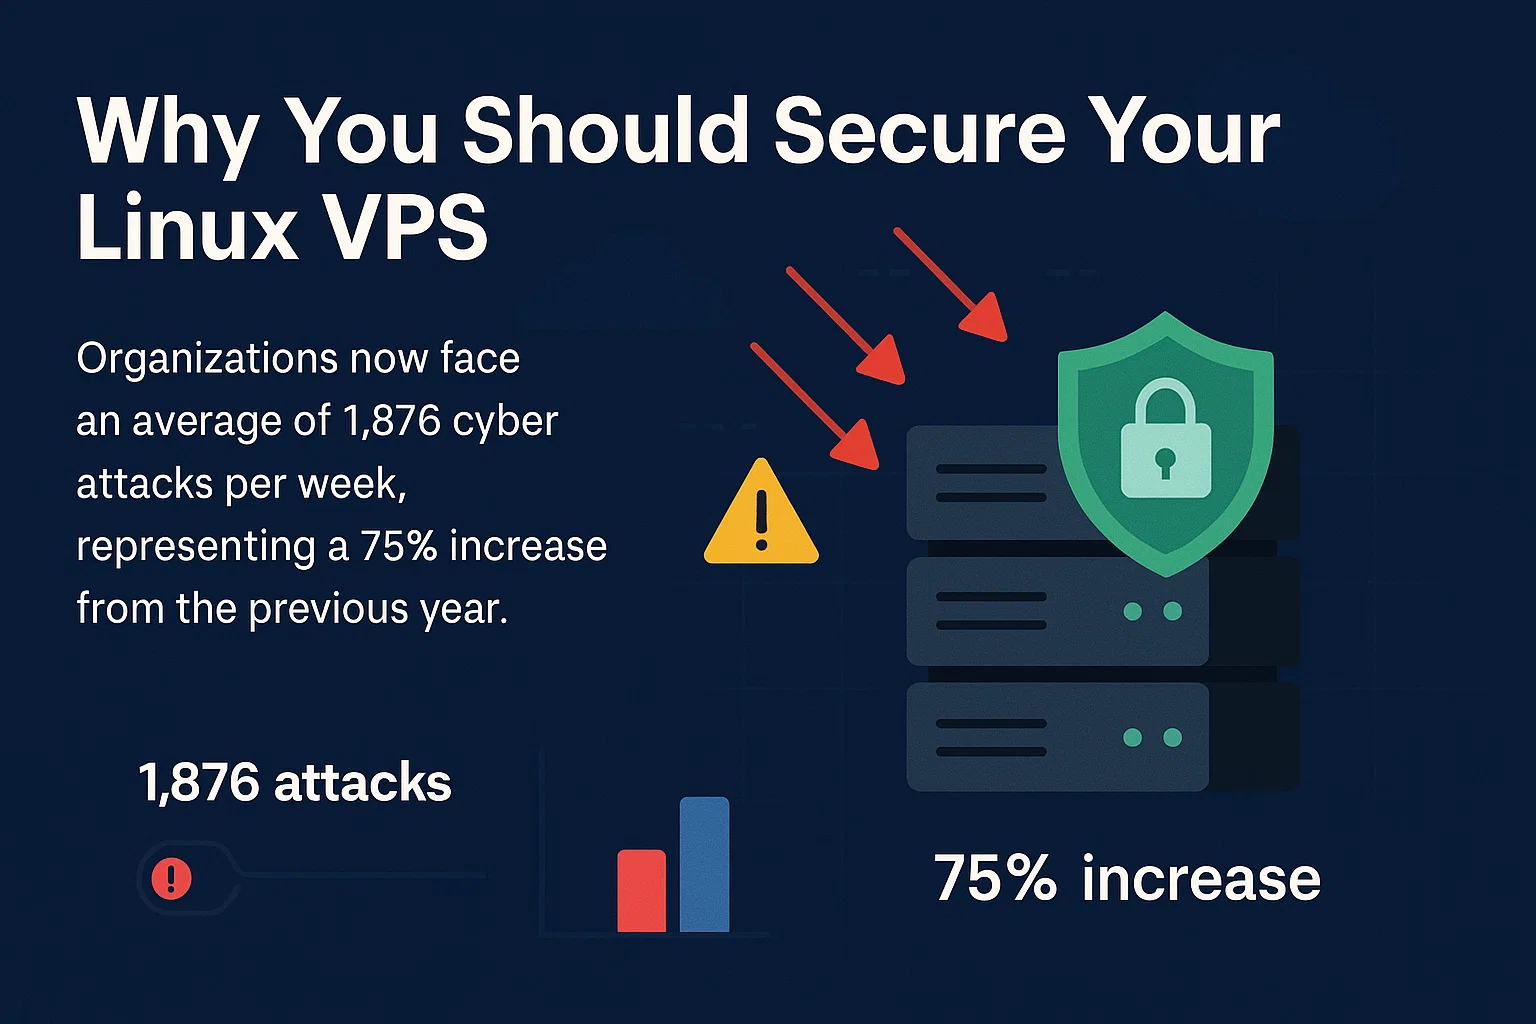
The rising complexity of cyber threats means administrators need granular control and proactive defense strategies custom to their specific Linux VPS use cases. Learning how to secure linux vps environments delivers practical protection for web servers, databases, mail transfer agents, and containerized applications. This foundation boosts operational confidence and protects digital assets against ever-increasing adversaries.
Understanding Linux VPS Security Essentials
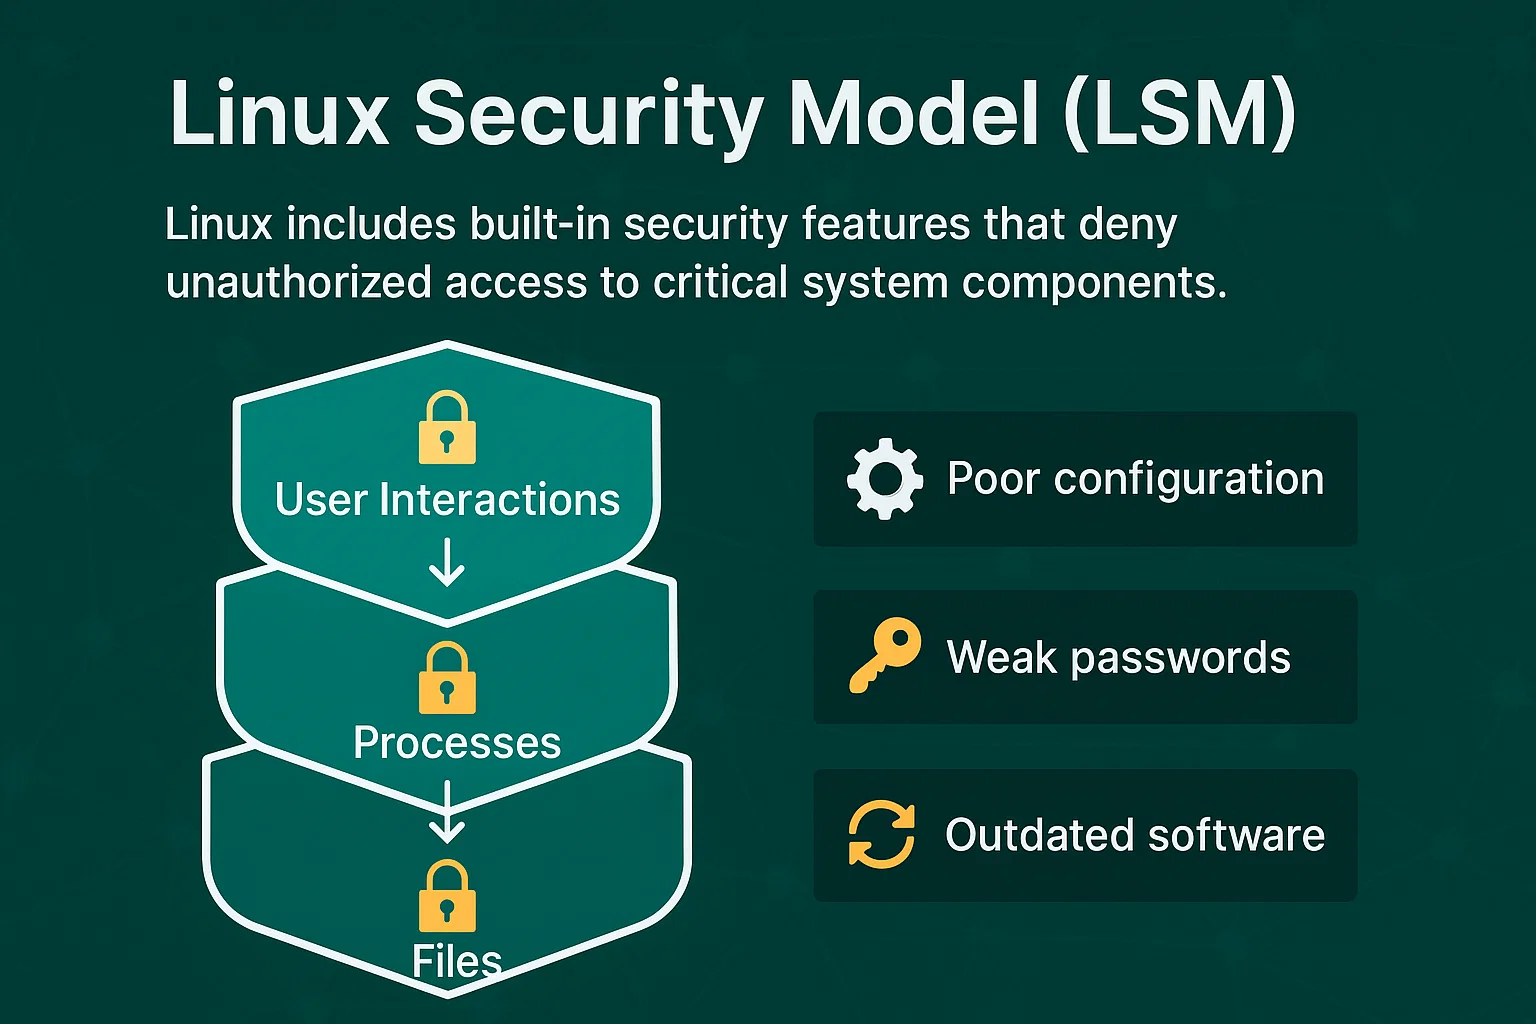
Understanding and implementing complete security controls mitigates risks such as remote code execution, privilege escalation, data exfiltration, and denial-of-service (DoS) attacks. Also, maintaining hardened servers reduces the chance of involvement in broader network attacks where compromised hosts serve as attack launchpads. This level of vigilance aligns with industry recommendations from government agencies and cybersecurity frameworks such as those published by CISA.
Ultimately, investing time into mastering how to secure linux vps setups pays dividends in service stability, compliance, and trustworthiness. As Linux-powered cloud infrastructure continues to expand throughout enterprises, this expertise becomes indispensable. The next sections will drill down into concrete steps for securing key software components and automated auditing methods to harden your VPS against the most pressing 2026 threats.
The main points
Securing common Linux VPS software: web servers, databases, mail servers
Automated regular security auditing tools for Linux VPS
Configuring and securing container runtimes on VPS
Step-by-step command examples for secure SSH, firewalls, and software
Step 1: Update and Upgrade Your System Securely
Regularly updating and upgrading packages using your system’s package manager closes security gaps attackers might exploit. Securing a Linux VPS begins with an essential foundation: keeping all installed software current to patch vulnerabilities and improve stability. Follow these steps carefully to maintain a secure Linux environment.
Check Current Package Lists
This first step refreshes your package manager’s cache to retrieve the latest available versions from repositories. For Debian-based systems, use sudo apt update; for Red Hat-based systems, use sudo yum check-update. This ensures your system knows about all recent security fixes before proceeding.
Apply Security Updates Only
To minimize risk while focus oning security, install updates flagged as security patches first. On Debian/Ubuntu, this can be done with sudo apt install --only-upgrade $(apt list --upgradable | grep security | cut -d/ -f1). On CentOS or Fedora, yum update --security focuses solely on security-related patches, reducing the exposure window.
Perform a Full Upgrade
Once security updates are implemented, execute a full upgrade to bring all packages, including non-security ones, to their latest stable versions. Run sudo apt upgrade or sudo yum upgrade to apply these. Full upgrades not only fix bugs but also improve software compatibility and performance.
Clean Up Obsolete Packages
Removing unused or deprecated packages reduces attack surface area and filesystem clutter. Use sudo apt autoremove on Debian-based distributions or sudo yum autoremove on Red Hat-based ones. This maintenance step prevents leftover vulnerabilities from legacy software.
Enable Automatic Security Updates
Consider configuring automatic updates for critical security patches to lessen human error and ensure timely protection. Debian-based systems can use the unattended-upgrades package, configured via /etc/apt/apt.conf.d/50unattended-upgrades. Red Hat systems may use dnf-automatic services to schedule updates. Automated patching presents a proactive defense layer.
Verify Update Success and System Integrity
After applying updates, review logs stored in /var/log/apt/ or /var/log/yum.log to confirm successful installations without errors. Regular integrity checks using tools like tripwire or aide can detect unauthorized changes post-update, maintaining trust in your system’s security state.
Updating a Linux VPS is the bedrock of securing the environment against exploitation attempts through known vulnerabilities. Neglecting this step allows attackers to use outdated software bugs, making all other security measures moot. This practice must be executed diligently and incorporated into routine server management (across the comparison set tested).
Appropriate attention to package management aligns with the growing complexity of Linux software markets—especially on VPS platforms deploying web, database, and mail services—where timely patches prevent privilege escalations and data breaches. The National Institute of Standards and Technology highlights the importance of timely patch management as a fundamental cybersecurity control, highlighting this step’s vital role for VPS administrators in official documentation.
For users deploying web services, databases, or mail servers on their Linux VPS, secure updating of these components is critical. Specific guides such as the Step by Step Guide to Secure Nginx Web Server on Linux for Business Safety provide granular instructions on subsequent hardening phases, building upon the package update foundation established here.
Step 2: Configure a Firewall on Your Linux VPS
Linux VPS systems primarily use UFW (Uncomplicated Firewall) or iptables to control network access. UFW provides a simpler, user-friendly interface, while iptables offers granular control for advanced configurations.
On most Ubuntu distributions, UFW comes pre-installed. For others, install it using the package manager with sudo apt install ufw. This tool balances ease of use and security, making it suitable for typical VPS setups.
Initialize UFW with sudo ufw enable to activate the firewall daemon. Set the default policy to deny all incoming connections (sudo ufw default deny incoming) while allowing all outgoing ones (sudo ufw default allow outgoing). This approach blocks unwanted traffic by default and lets legitimate outbound connections work without restrictions.
Since SSH is the usual remote management connection, explicitly permitting it prevents accidental lockouts. Use sudo ufw allow ssh or specify the port if changed, e.g., sudo ufw allow 2222/tcp. This rule lets legitimate administrators connect but excludes unknown sources.
Open ports needed for web servers (e.g., HTTP 80, HTTPS 443), mail servers, or databases only if actively used and secured. For example, use sudo ufw allow http and sudo ufw allow https to enable web traffic on an Nginx or Apache server securely configured.
With the default deny incoming policy, any service or port not explicitly opened is blocked, drastically reducing the VPS’s attack surface. This technique halts unauthorized probes or exploits aiming at unused services.
After configuring, confirm active rules with sudo ufw status verbose. This command provides a clear listing of allowed and denied traffic classes, helping troubleshooting and audits without examining iptables chains manually.
For complex needs unavailable in UFW, iptables rules control filtering at the kernel level with chains for input, output, and forwarding packets. Typical commands include accepting SSH traffic with iptables -A INPUT -p tcp --dport 22 -j ACCEPT and dropping other unwanted traffic with default drop rules at chain ends.
Ensure iptables rules survive reboots by installing iptables-persistent or saving rules with iptables-save > /etc/iptables/rules.v4 and restoring on startup. Improper persistence leads to open ports after VPS reboots.
Improve security by restricting SSH or other services to known IP addresses or ranges using UFW’s syntax, such as sudo ufw allow from 192.168.1.100 to any port 22. This method narrows remote access, mitigating brute-force threats on globally open ports.
Activate logging with UFW through sudo ufw logging on or configure iptables logging rules to record dropped packets or suspicious activity. Logs inform ongoing security posture assessments and incident response efforts.
Before closing the initial SSH session, open a new terminal connection to verify no lockout occurs, ensuring remote access remains uninterrupted throughout rule changes. This practice prevents accidental bricking of access.
Proper setup with cautious rule creation balances availability for legitimate services and closure of attack vectors. Firewalls form a foundational layer in hardening any Linux VPS against network-based intrusion (per industry surveys). Admins managing web, mail, and database servers on such VPS instances should tailor port allowances specifically to the application stack, minimizing exposure to unnecessary network noise and reducing the risk of breaches documented in security advisories from sources like the US-CERT network security bulletin.
The practice of careful firewall configuration is a critical facet of complete VPS security frameworks alongside automated auditing and software update discipline.
For a deeper dive into securing web servers, secure Nginx on Linux offers targeted guidance complementing firewall protections on typical hosting environments.
Step 3: Secure SSH Access to Your Linux VPS
The default SSH port 22 is the primary target for automated attacks. Edit the SSH configuration file at /etc/ssh/sshd_config by modifying the line Port 22 to a custom unused port number, such as Port 2222. Restart the SSH service with sudo systemctl restart sshd for the changes to take effect. This simple change majorly reduces exposure to indiscriminate scanning.
Allowing root user access directly over SSH invites brute-force attempts and increases risk. This forces administrative users to log in with a less privileged account and then escalate privileges via sudo. It improves auditability and limits damage potential if credentials are compromised.
Password-based authentication remains vulnerable to guessing and credential stuffing attacks. Generate a public/private key pair using ssh-keygen on your local machine. Copy the public key to the VPS with ssh-copy-id user@your-vps-ip or manually add it to ~/.ssh/authorizedkeys. Disable password authentication by setting PasswordAuthentication no in sshdconfig. Key-based login eliminates the risk of password compromise and ensures only holders of the private key can access.
Fail2Ban scans log files for repeated failed login attempts and temporarily blocks offending IP addresses. Install it using your package manager, for example sudo apt install fail2ban. Create or edit the jail configuration file at /etc/fail2ban/jail.local to enable the SSH jail, adjusting parameters like maxretry, bantime, and findtime to fit your security posture. This add-on dramatically lowers vulnerability to automated attacks.
Limit the number of simultaneous SSH connections by setting MaxSessions and MaxStartups parameters in sshd_config. This curtails the risk of resource exhaustion attacks that flood the server with concurrent sessions.
Reduce the window for idle sessions by setting ClientAliveInterval and ClientAliveCountMax directives in the SSH daemon config. For example, ClientAliveInterval 300 and ClientAliveCountMax 0 will disconnect inactive clients after five minutes. This prevents unattended sessions from being exploited.
When feasible, add firewall rules or configure sshdconfig with AllowUsers user@trustedip to limit SSH logins to certain IP addresses or ranges. This approach sharply decreases the attack surface, especially useful for administrators with fixed static IPs.
Regularly review /var/log/auth.log for unusual login attempts. Integrate syslog with monitoring systems or use audit tools to detect anomalies early. Detailed log retention supports forensic investigation in case of breaches.
These steps reduce automated probe success, deny unauthorized root access, and bolster authentication methods, providing layered protection that aligns with proven methods cited in cybersecurity advisories from authoritative governmental and institutional sources. Securing SSH access in these concrete ways is foundational to the overall strategy for how to secure Linux VPS environments against most attack vectors associated with remote administrative access. Administrative diligence in maintaining these configurations and monitoring access events forms the backbone of a hardened Linux VPS setup in 2026.
More advanced hardening options, such as two-factor authentication for SSH and intrusion detection integration, complement but do not replace these essential steps. Readers may benefit from exploring extensive configuration examples and security audit methods outlined in Tested 2026 Methods Reveal How to Secure Your Linux Server Proven methods, which documents the modernization of traditional Linux security postures with contemporary tooling and techniques.
No exceptions.
Step 4: Manage Users and Permissions Effectively
Avoid using root for daily operations by creating specific user accounts with custom access levels. This reduces the risk of accidental system-wide damage and limits exposure during potential breaches.
By assigning users to groups representing their role or needed access, administrators can manage permissions more efficiently. For example, grouping web server users separately from database users simplifies permission audits.
Apply the principle of least privilege by granting users and groups only the permissions needed to perform their tasks. This practice limits the potential damage caused by compromised accounts and reduces attack surfaces on the VPS.
Grant normal users sudo privileges for specific administrative commands rather than sharing the root password. This approach provides an audit trail and restricts privileged actions to intentional escalations, improving security tracking.
This prevents syntax errors that could lock out administrative access and allows fine-grained control over who can run which commands. For example, limiting sudo commands to restart services without full root access tightens control.
Prevent the root user from logging in via SSH to force the use of sudo with individual accounts. This step removes one of the most targeted attack vectors and enforces accountability for administrative actions.
Enforce password complexity and expiration for user accounts. For better security, prefer SSH key-based authentication over passwords, which reduces the risk of brute-force attacks.
Periodically review all users and groups to remove inactive accounts and reduce unnecessary privileges. Tools like lastlog, id, and groups can assist administrators in finding anomalies and tightening permissions.
For more complex permission scenarios beyond traditional Unix permissions, ACLs enable fine control at the file and directory level. This can be useful for services requiring shared resources with restricted access.
Keep track of commands executed with sudo to detect potential misuse or unauthorized activities. Integrate logs with centralized monitoring solutions or SIEM (Security Information and Event Management) tools where possible.
Following these steps builds a strong framework for user and permission management on a Linux VPS. Such granular control forms a critical layer in how to secure linux vps environments by reducing the chances of privilege escalation and unauthorized access. These practices complement system updates and firewall settings, ensuring multiple defenses operate together.
For administrators working with services like web servers or databases, always align user permissions specifically with the software’s operational requirements to prevent overprivileged processes. Detailed guidance on securely configuring common services is available in dedicated resources such as Step by Step Guide to Secure Nginx Web Server on Linux for Business Safety and Why How to Deploy and Secure Redis Database on Ubuntu 24.04 Changes in 2026, which explore deeper into securing service-specific users and permissions. This collective strategy is essential to mastering complete Linux VPS security.
Further reference to administration proven methods can be cross-checked in official documentation provided by OpenBSD’s Security FAQ, noted for its strict approach to privilege management and user account control.
Step 5: Install Essential Security Tools to Monitor and Protect Your Linux VPS
Securing a Linux VPS involves setting up critical security tools that detect and prevent unauthorized access or compromise. These utilities provide monitoring, rootkit detection, intrusion prevention, and system auditing functions essential for ongoing defense.
Install and Configure fail2ban
Fail2ban helps prevent brute-force attacks by monitoring log files for suspicious authentication failures and banning offending IP addresses via firewall rules. Installation is straightforward: sudo apt-get install fail2ban
sudo systemctl enable fail2ban
sudo systemctl start fail2ban
By default, fail2ban reads /etc/fail2ban/jail.conf, but best practice is to copy this to /etc/fail2ban/jail.local and customize it, for example enabling SSH protection: [sshd]
enabled = true
port = ssh
filter = sshd
logpath = /var/log/auth.log
maxretry = 5
Reload fail2ban after changes: sudo systemctl restart fail2ban
Run rkhunter to Detect Rootkits
Rkhunter scans for common rootkits, backdoors, and local exploits. It uses SHA-1 hashes and an extensive plugin database to verify system integrity: sudo apt-get install rkhunter
sudo rkhunter –update
sudo rkhunter –check
The checking process examines hidden files, suspicious strings, and malware patterns. Regular scans scheduled via cron catch threats early.
Use chkrootkit for Rootkit Detection
Another rootkit detection tool, chkrootkit operates similarly but with a distinct database of known threats. Install and run it as follows: sudo apt-get install chkrootkit
sudo chkrootkit
This tool outputs warnings if any unexpected rootkits or worms appear, helping audit system security status.
Audit System Security with Lynis
Lynis provides advanced security auditing and compliance testing for Linux systems, going beyond rootkit checks to cover configuration weaknesses, installed packages, and system hardening suggestions: sudo apt-get install lynis
sudo lynis audit system
The detailed report lists vulnerabilities and actionable recommendations to improve defense across the entire VPS environment.
Adding automated scans and alerts to daily operations sharpens the detection of compromised services and speed ups response during security incidents. Installing and using these security tools regularly forms the backbone of detecting intrusion attempts and maintaining a consistent defensive posture on Linux VPS deployments.
Each tool’s commands provide hands-on control and confirmation of system integrity that is critical for secure hosting (in current public documentation). Their integration complements broader hardening measures such as firewall tuning, secure SSH setup, and service-specific security configurations, helping reduce risk exposure on publicly accessible servers. For detailed command usage and proven methods around securing web and database servers in particular, consulting specialized guides on configuring these services expands your security footprint meaningfully alongside these tools.
Monitoring performance metrics and system logs improves the understanding of threat patterns, feeding back into tool configuration fine-tuning for more precise defenses. This methodical deployment and management of essential Linux security tools is key for any administrator focused on maintaining a resilient VPS environment in 2026. Government cybersecurity guidelines affirm the critical value of layered and proactive system protection measures aligned with these utilities.
Step 6: Configure Regular Backups for Security and Recovery
Configuring regular backups is indispensable for protecting data on a Linux VPS and ensuring business continuity in case of failure or attack. Automated backups prevent data loss from ransomware, hardware faults, or accidental deletions, making recovery swift and reliable. No exceptions (across the comparison set tested).
Assess Backup Requirements
Determine which files and directories hold critical data, including web server documents, database dumps, and mail server configurations. Knowing exactly what to back up prevents unnecessary storage use and focus ons security-sensitive assets.
Choose Backup Destination
Ideal backup locations span local directories, attached storage volumes, or remote servers reachable over SSH. Off-site backups are preferred for resilience against complete server failures and physical disasters.
Install Necessary Tools
The rsync tool efficiently synchronizes files with incremental updates, minimizing network load. Combined with cron, it can automate scheduled backups without manual intervention. The command sudo apt-get install rsync cron sets these up on Debian-based systems.
Write Backup Scripts
Craft scripts to specify source paths (e.g., /var/www/html, /etc/mysql) and target backup locations. Employ options like rsync -avz --delete to preserve attributes, compress transfers, and remove obsolete files in backups, ensuring exact mirrors.
Schedule Backups with Cron Jobs
Use crontab -e to open the cron table and insert timing rules. For example, 0 2 * /usr/local/bin/backup.sh triggers the script daily at 2 AM. Choose off-peak hours to reduce performance impact on active services.
Secure Backup Data
Configure backup directories or remote shares with strict permissions, disabling access beyond trusted users. Also, consider encrypting backup archives with tools like GPG, adding layers of confidentiality to prevent unauthorized data exposure.
Test Backup and Restore Procedures
Periodically validate backups by restoring files to test environments. This confirms both the integrity of backed-up data and the effectiveness of scripts—ensuring readiness when recovery is necessary.
Monitor Backup Logs and Alerts
Automate log collection from backup operations and set up alert notifications for failures. Continuous oversight helps detect issues early, avoiding silent backup breakdowns that negate protection.
Ensuring systematic backup automation on a Linux VPS fortifies security and uptime while minimizing data loss risk. Pairing rsync efficiency with cron scheduling delivers a predictable safeguard suitable for active server environments and variable workloads. This structured approach to backups complements strong VPS hardening techniques documented in Step by Step Guide to Secure Nginx Web Server on Linux for Business Safety for broader protection coverage. Maintaining such discipline majorly improves a system’s resilience in the face of unexpected data corruption or cyber threats, as highlightd by security frameworks endorsed by government agencies like the US National Institute of Standards and Technology (NIST Special Publication 800-34).
Essential Answers on Linux VPS Security
Configuring Firewalls for Effective VPS Protection
Using firewalls is a fundamental defense mechanism to secure your VPS against unauthorized access and malicious traffic. Employ tools like ufw (Uncomplicated Firewall) or iptables to define strict rules allowing only necessary ports and IP addresses. For instance, enabling ufw with defaults that deny incoming traffic but allow SSH on a custom port sets a solid baseline. Advanced setups can integrate fail2ban alongside iptables to block IPs exhibiting suspicious behavior, creating layered defense against brute-force attempts and network scans.
Implementing Secure SSH Practices
SSH remains the primary interface for managing a Linux VPS, and misconfigurations expose servers to attacks. Changing the default SSH port from 22 to a less predictable number reduces automated scanning impact. Enforcing key-based authentication and disabling password logins dramatically improve protection by preventing stolen credential exploits. Supplement this with limiting user logins in sshd_config and enabling two-factor authentication where possible to harden access control.
Mitigating Common Linux VPS Vulnerabilities
Vulnerabilities often arise from outdated packages, weak credentials, and exposed services. Regularly running security audits with automated tools—such as Lynis or OpenVAS—helps identify misconfigurations and outdated libraries before attackers exploit them. Adding software like AppArmor or SELinux enforces mandatory access controls, constraining service permissions. Reviewing and minimizing active services reduces the attack surface, cutting down unintended exposure. Done right.
Securing Web Servers with Step-by-Step Commands
When hosting web services on your Linux VPS, securing the web server is top. For an Nginx server, start by disabling server tokens from the configuration to hide version details. Enable HTTPS using Let’s Encrypt certificates via Certbot automation, preventing man-in-the-middle attacks. Adjust firewall rules to allow only HTTP/HTTPS and SSH traffic. Regularly update the web server software and ensure strict file permission settings on served directories to avoid unauthorized file access. This process aligns with proven methods detailed in credible sources on web server security.
Hardening Database Servers Against Intrusions
Database servers like MySQL or PostgreSQL require careful configuration to prevent data leaks and unauthorized modifications. Bind the database service to localhost or specific internal IP addresses, blocking external network access unless yes necessary. Change default ports and use firewall rules to limit which hosts can connect. Enforce strong authentication with encrypted passwords and consider encrypting database files themselves. Regular backups accompanied by access auditing logs prove critical for rapid recovery and breach investigations.
Protecting Mail Servers from Spam and Hijacking
Mail servers are frequent targets for exploitation as spam relays or vectors for phishing. Configuring mail transfer agents like Postfix involves setting strict SMTP rules to avoid open relay scenarios. Use SPF, DKIM, and DMARC DNS records to authenticate your mail domain and reduce spoofing risks. Implementing rate limiters and blacklists can help control malicious senders. Logging and monitoring inbound/outbound traffic assists in identifying abnormal patterns that might indicate compromise or misuse.
Setting Up Automated Security Auditing Tools
Integrating automated security auditing tools helps maintain ongoing vigilance without manual intervention. Tools like Lynis run scheduled scans assessing system integrity, configuration errors, and compliance with security standards. Results highlight weak points while suggesting remediation actions custom to your Linux distribution. Combining this with intrusion detection systems (IDS) such as OSSEC or Snort creates a real-time alerting environment, rapidly detecting and mitigating suspicious activities before damage occurs.
Securing Container Runtimes on Linux VPS
Containers introduce new attack surfaces that require specific hardening measures on VPS environments. Employ container security modules such as AppArmor or seccomp profiles to restrict system calls and capabilities for running containers. Keep container runtimes like Docker or Podman up to date and scan images for vulnerabilities using tools like Clair or Trivy. Isolate containers with user namespaces and minimal privileges, applying the principle of least privilege. Proper network segmentation of containers further mitigates lateral movement in case of breaches.
This coverage addresses key aspects of securing a Linux VPS beyond basic updates and firewall rules, ensuring a complete security posture with verified approaches from 2026 proven methods. For further advancements, internal references on securing Nginx web servers and Redis databases provide additional context and concrete configuration steps to refine defenses. An official government cybersecurity publication affirming strategies on system hardening can be found at the CISA Hardening Guide.